How to Set Up EZCom EDI in Acumatica
Generated by NotebookLM from the EZCom Connector documentation — narrator-ready.
Imagine your business is finally landing those massive contracts with national retailers. This is the growth you have worked for, but it comes with a hidden cost. Your office team is suddenly drowning in manual work. They are logging into customer portals, copying order details into your system, and manually updating inventory counts. This manual data entry is slow, expensive, and one small typo can lead to a rejected shipment or a frustrated customer. This is the real-world problem that Electronic Data Interchange, or EDI, is designed to solve.
At Biz-Tech Services, we believe your Enterprise Resource Planning system, or ERP, should be the heart of your operations. That is why we built the EZCom Connector. This integrator creates a seamless bridge between the EZCom EDI platform and Acumatica. The connection is managed by an intermediate server that we control to ensure your data flows accurately and securely. Let’s walk through how to set up this connection step by step so your business can stop typing and start growing.
Installing the Framework
The journey begins with bringing the integrator into your Acumatica environment. To do this, you will use the Customization Projects form. This is the workspace where you add the deployment package we provide.
Once the package is uploaded, you must perform a document validation. This is a critical step where the system checks the new files against your specific version of Acumatica to ensure everything is compatible. After a successful validation, you publish the project. This finalizes the installation and adds the new EZCom menu and screens to your workspace.
Establishing the Connection
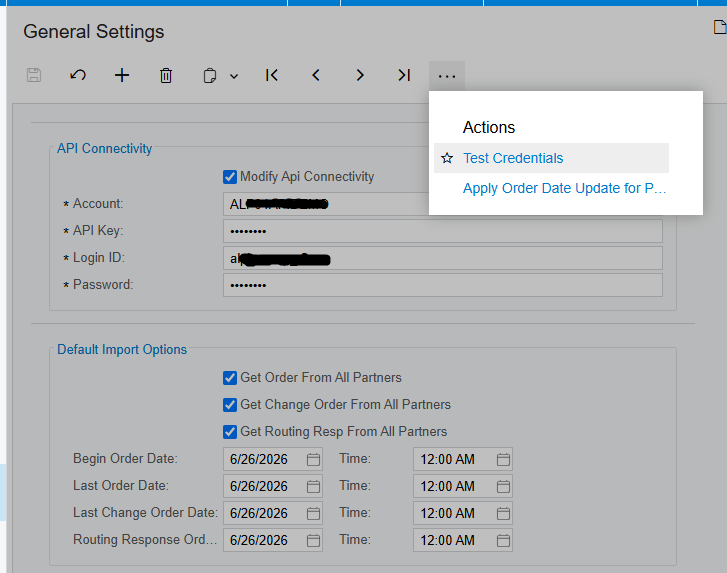
Now that the software is in place, you need to tell it how to talk to the outside world. Navigate to the General Settings screen. This is where you configure your Application Programming Interface, or API, connectivity. An API is essentially the language the two systems use to communicate.
Inside the settings, you will enter your account information, your unique API Key, and your EZCom administrative credentials. To make sure the bridge is working, use the Test Credentials action. The system will attempt to reach the Biz-Tech intermediate server and verify your account. If it passes, your system is ready to exchange data.
Configuring Your Trading Partners
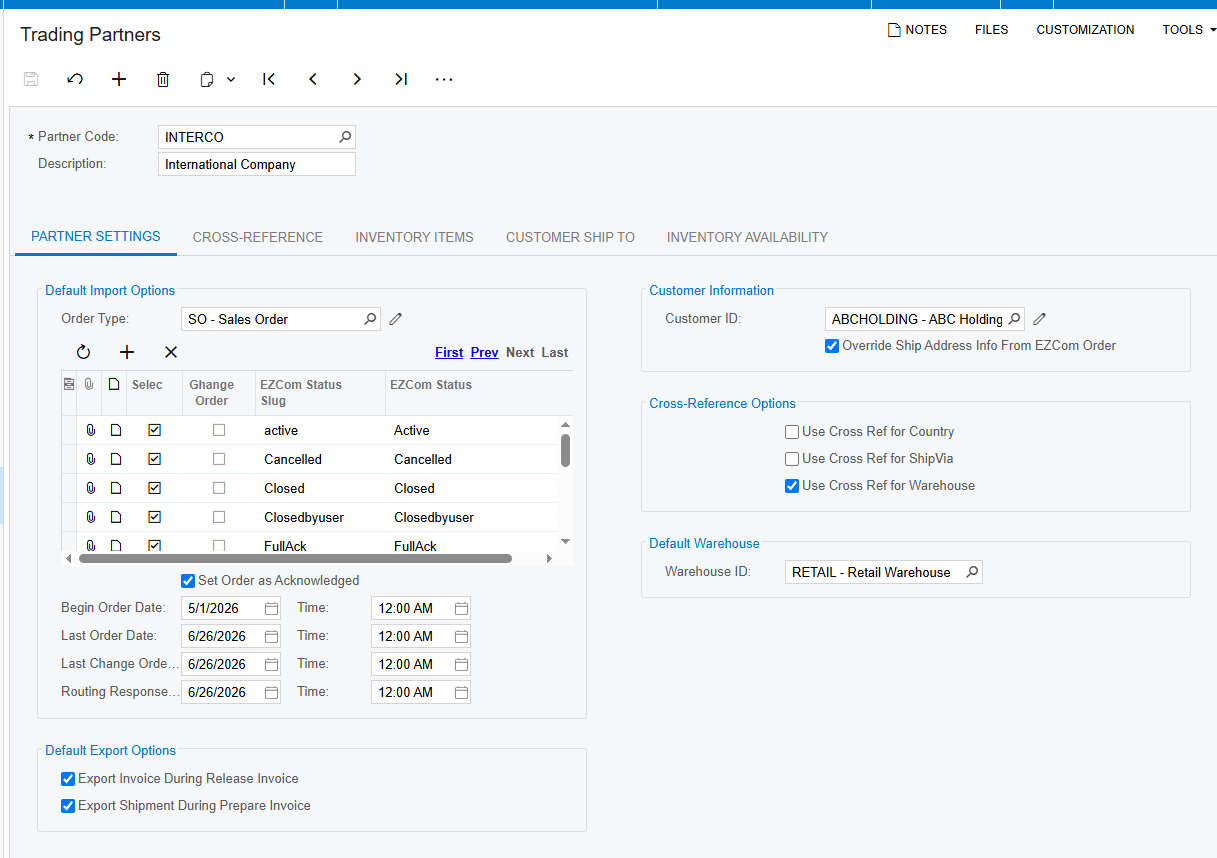
In the world of EDI, your customers are known as Trading Partners. Every partner has different requirements, so you must define the rules for each one. On the Trading Partners screen, use the action to retrieve your full list of partners directly from EZCom.
For each partner, you will choose a default Order Type for the Sales Orders that the system will create. You also select which EZCom Statuses should trigger an import. Mapping your inventory is the most important part of this step. Under the Inventory Items tab, you link your internal Acumatica IDs to the codes your customer uses, such as a Universal Product Code, or UPC. If you do not map these items correctly, the system will trigger an error during the import process because it won’t know which product is which.
Managing Inbound Orders and Changes
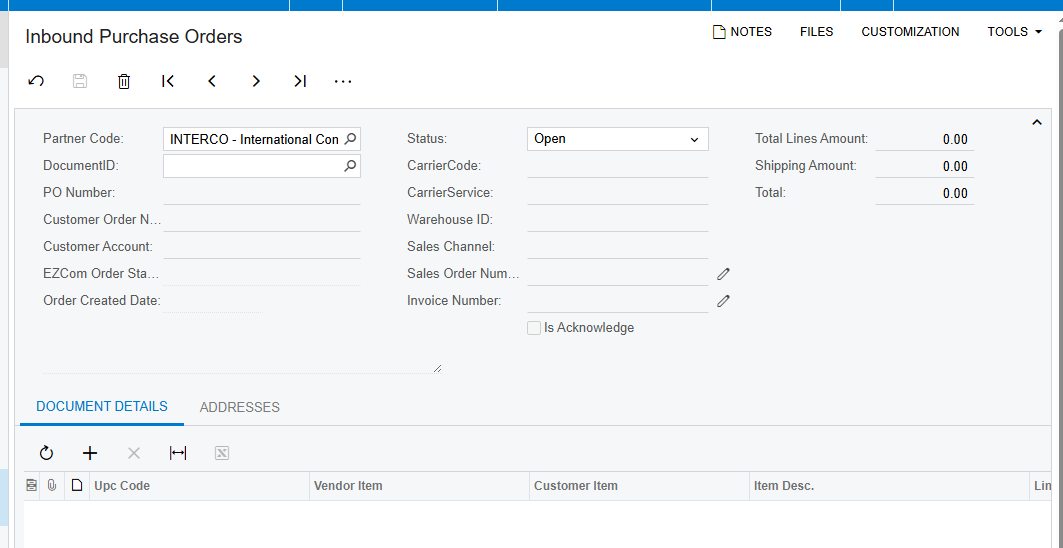
With your partners configured, you can begin processing transactions. It starts with the Purchase Order, or PO. On the Import Purchase Orders screen, you can fetch orders for specific partners or for everyone at once. Once the list appears, you can choose to import specific orders or use the Import All function to bring them all into Acumatica as Sales Orders.
Business is rarely static, and customers often modify their orders. If a partner changes an order on the EZCom platform after you have already seen it, you can use the Import Changed Purchase Orders screen. This ensures your records stay accurate without any manual intervention.
Acknowledgements and Routing
Once you have an order, your partner needs to know you have accepted it. This is handled through a Purchase Order Acknowledgement, or PO Ack. When you send a PO Ack from the dedicated outbound screen, the system updates the status in EZCom and automatically changes the status of the Sales Order in Acumatica to Closed.
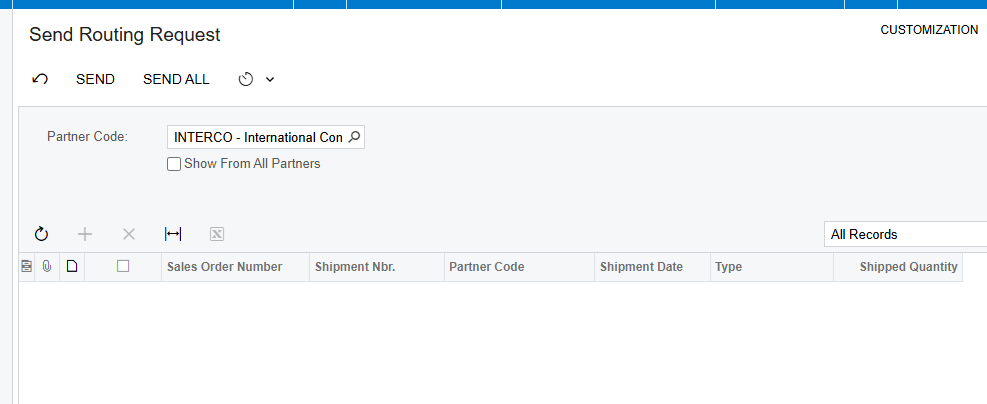
If your shipment requires specific carrier instructions, you can send a Routing Request to tell the partner the goods are ready. When the partner responds, you simply import the Routing Response. The system will then automatically update your shipment with the correct carrier and service details based on the rules you have set up.
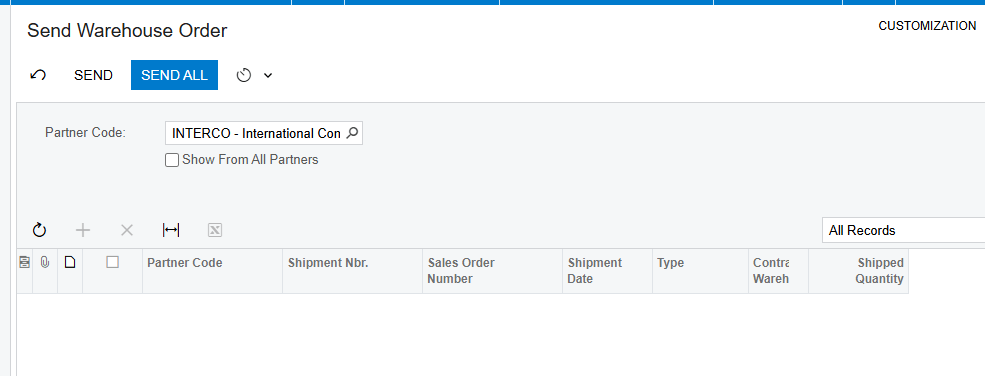
Warehouse Integration and Fulfillment
If you use an external warehouse, the integratior keeps them in the loop too. You can send a Warehouse Order that includes item quantities and UPC codes directly to your fulfillment center. When the warehouse ships the goods, you can import the Warehouse Shipment details. This automatically brings tracking numbers and final quantities back into your Acumatica shipment record, saving you from more manual data entry.
The final step in the cycle is telling the customer the goods are on the way and the bill is ready. You can automate this so that Outbound Shipments and Outbound Invoices are sent the moment you process them in Acumatica. If you prefer more control, you can use the dedicated outbound screens to review and send these documents manually.
Your Path to Automation
The one clear takeaway from this process is that integration is the enemy of error. By taking the time to validate your documents and map your items correctly, you turn a complex web of retail requirements into a smooth, automated workflow.
If your team is spending more time typing than they are selling, we can help. Visit us at biz-techservices.com today to schedule a demo of the EZCom Connector and see how we can streamline your business.