How to Set Up Salesforce in Acumatica
Every day, your business relies on two powerhouses: Salesforce for your Customer Relationship Management, or CRM, and Acumatica for your Enterprise Resource Planning, or ERP. But when these two systems aren’t talking to each other, your team is stuck manually moving data between sales, finance, and inventory. That gap leads to slow order processing, outdated customer information, and missed opportunities. At Biz-Tech Services, we designed our integration to bridge that gap, giving you real-time synchronization so everyone in your organization makes decisions from the same up-to-date information.
Let’s walk through how to set up this connection step by step, so you can start seeing a unified view of your business.
Connecting the systems
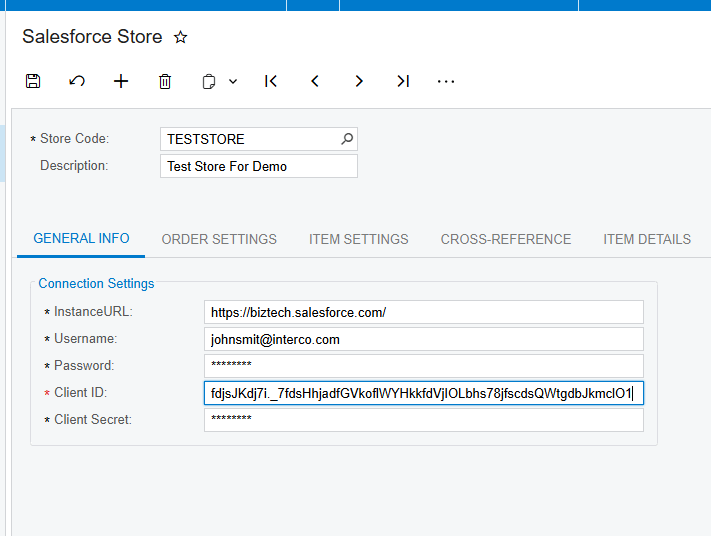
The heart of the integration is a screen we call the Salesforce Store. Think of it as your central hub, where you define exactly how data flows between the two platforms.
Your first step is to establish the secure connection in the General Info tab. Here, you enter your Salesforce instance address and your API credentials, including your username, password, client ID, and client secret. Once those are in, there’s a Test Credentials button that gives you immediate feedback on whether the connection is valid.
Configuring your order flow
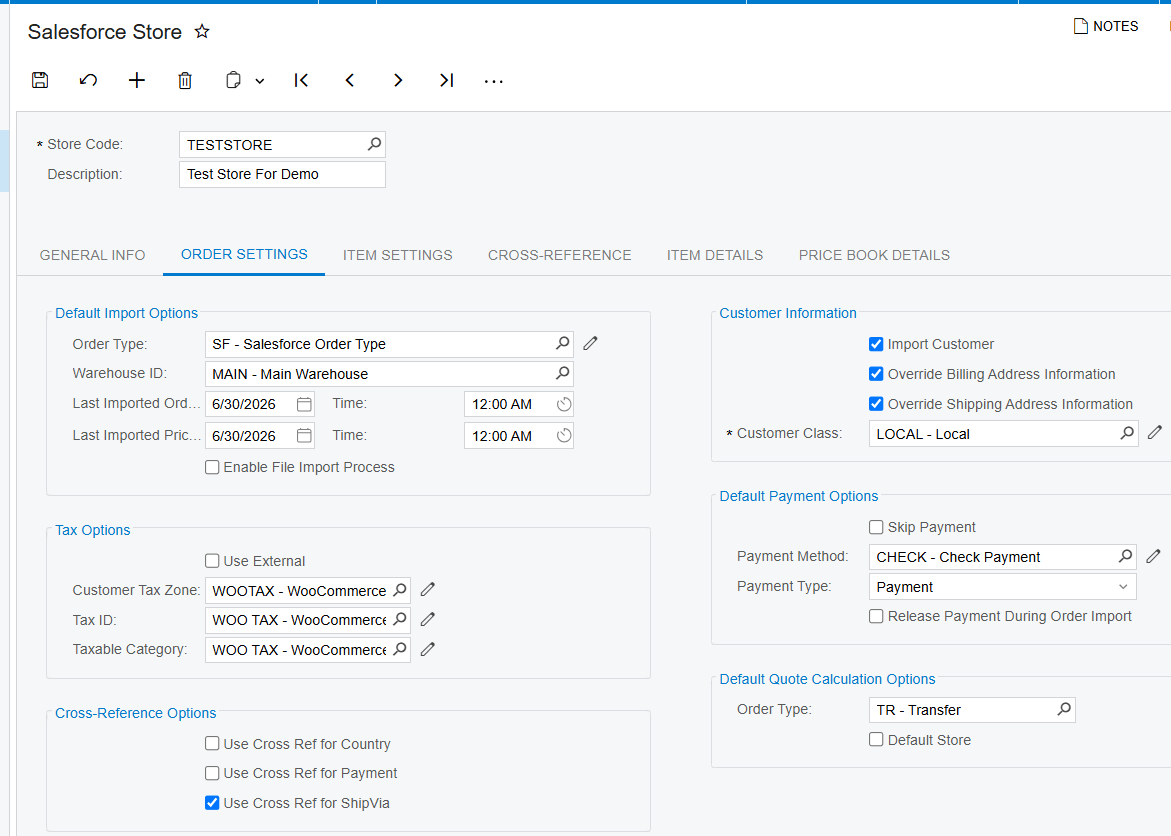
Once the connection is live, you tell Acumatica how to handle incoming sales for SalesForce Integrator. In the Order Settings tab, you define the default order type and the warehouse for every order that comes in from Salesforce.
One of the most important parts of this setup is how you handle taxes. You can use an external tax calculation service, like Avalara, or you can map the system to import taxes exactly as they were calculated in Salesforce.
To keep your shipping and payment data clean, you use cross-reference options. These let you link specific values from Salesforce, like a FedEx Ground shipping method, to the matching ship-via code in Acumatica. That way, when an order arrives, Acumatica knows exactly how to process it without manual intervention.
Managing customers and products
A successful SalesForce integration means your customer data is always in sync. In the customer information section, you decide whether the system should automatically create a new customer record in Acumatica whenever a new order is imported. If you enable that, it pulls in the email, contact info, and customer class automatically.
If you already have a large database in Acumatica, you can use the Export Salesforce Customers screen to push those records into Salesforce as accounts. If a customer has a primary contact, that person is created as a contact in Salesforce at the same time. And you can always confirm a record is linked by looking for the Salesforce Account ID right on the customer screen in Acumatica.
Next, your inventory. Under item settings, you can have the system create new items in Acumatica based on your Salesforce products. It uses the Salesforce product SKU to find a matching inventory ID in Acumatica, and you can even automate unique product IDs with a predefined numbering sequence.
Setting prices and discounts
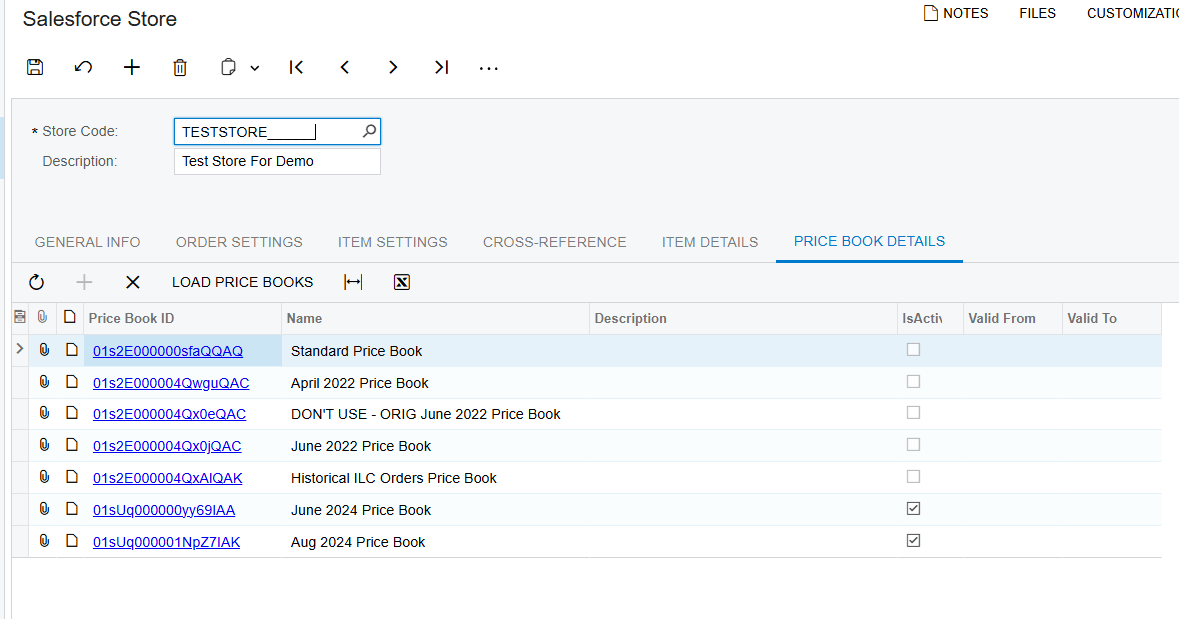
To keep your sales team accurate, you need consistent pricing. The Price Book Details tab lets you load your Salesforce price books directly into Acumatica. From there, you use the Export Salesforce Price Books screen to add products to a price book or update list prices. Just remember that items must be in your standard price book before they can be added to any custom one.
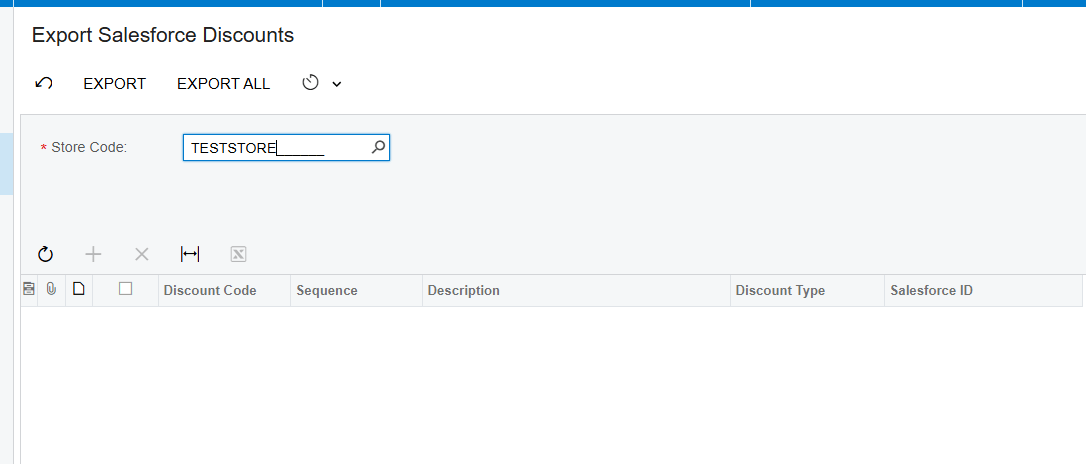
Promotions are handled through the Export Salesforce Discounts screen. You can create or update discount codes in Acumatica and sync them to Salesforce as either line-level or document-level discounts. That makes sure the price the customer sees in the CRM matches the final invoice in the ERP.
The daily workflow: import and two-way sync
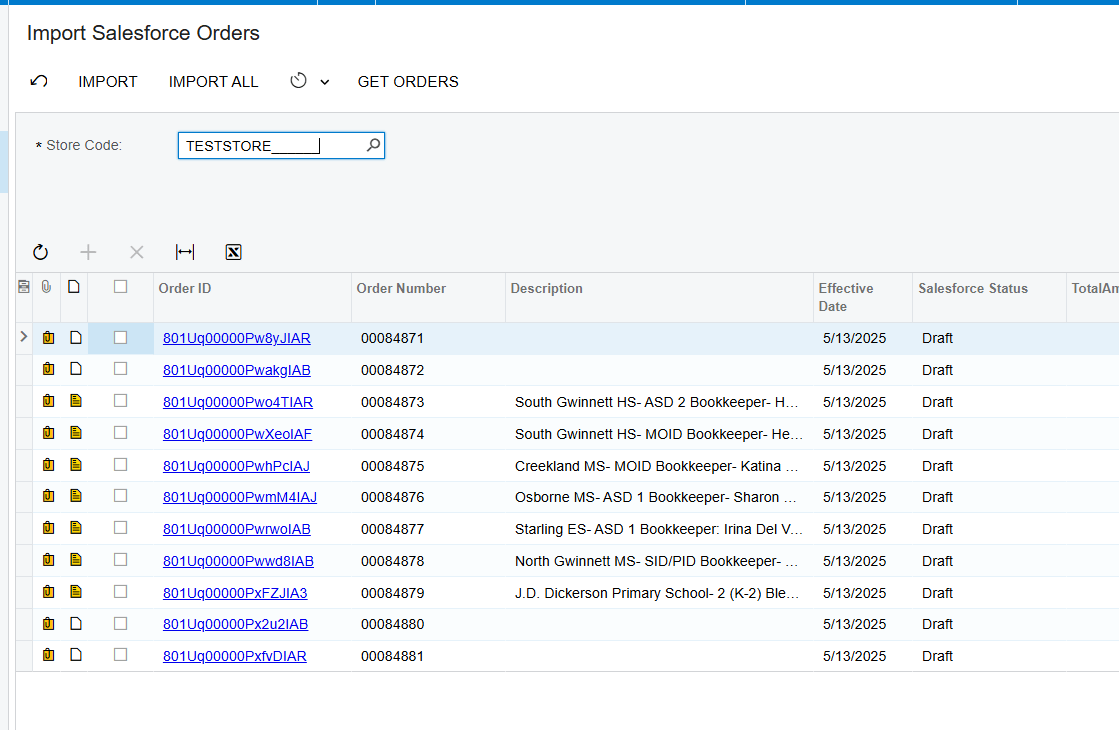
With everything configured in SalesForce Connector, your team uses the Import Salesforce Orders screen. You select a date range, hit Get Orders, and you see all the pending sales. You import them one by one or all at once, turning those Salesforce opportunities into Acumatica sales orders instantly.
The real beauty of this integration is that it’s bidirectional. If you need to update a shipping address, add a new line item, or change a discount code in Acumatica, you use the Sync Orders to Salesforce screen to push those changes back to the CRM. That keeps your sales reps informed about the status and final details of every deal.
Visibility across the business
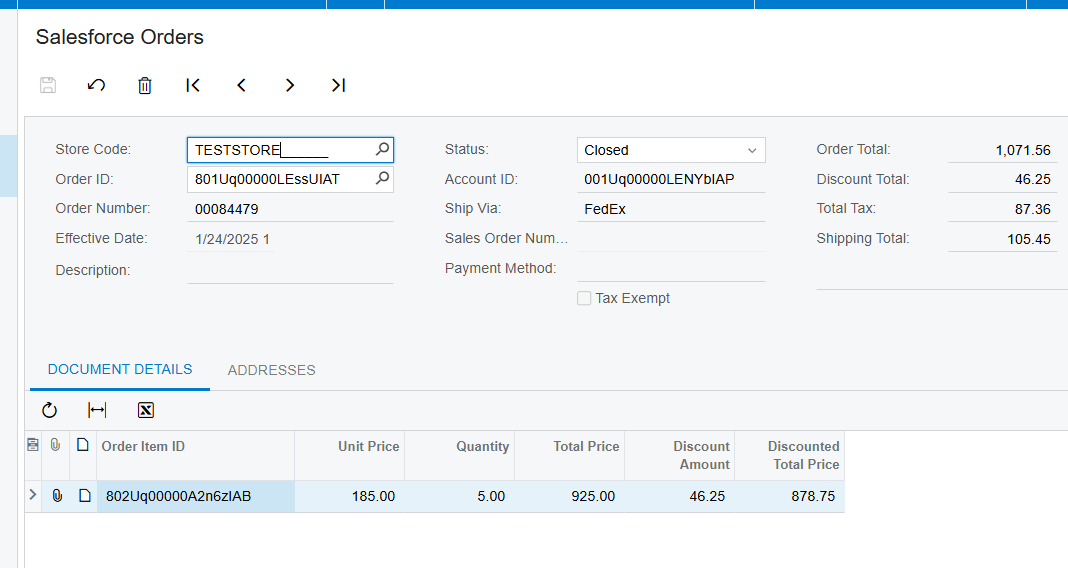
The ultimate goal of this setup is total visibility. Through the Salesforce Orders inquiry screen, your finance team can see the original Salesforce order details, while your sales team can see the resulting Acumatica sales order number and status, without leaving their preferred environment. We even sync internal notes from Salesforce into the Acumatica sales order, so no piece of communication is lost through SalesForce Connector.
The bottom line
The one clear takeaway is that automation eliminates the manual gaps that slow your business down. By following these setup steps, you make sure your sales and finance teams are always working in perfect harmony.
If you’re ready to see how this integrator can transform your workflows, visit biz-techservices.com to schedule a live demo. We look forward to helping you connect your business for growth.